


Book Creator Quick Start Guide
Help students explain what they know through books that combine writing, drawing, images, and recorded voice.
This guide covers Book Creator online at app.bookcreator.com. Use your school’s approved account and sign-in route. Available libraries, book capacity, collaboration, and administrator controls depend on your subscription and local settings. The separate iPad app has a different workflow.
A Simple Authoring Cycle
Plan
Choose the learning purpose, audience, and evidence the book should contain.
Create
Build a short book using text and media that help explain the idea.
Review
Check accuracy, accessibility, source credit, and feedback.
Share
Keep work in the class library or publish only for the intended audience.
Begin with one small book: A cover and two content pages are enough to practice the complete cycle. Add an image, recording, or illustration when it helps explain the idea; students do not need to appear in their work.
District Setup
Prepare one library and verify the learner’s access before inviting a whole class.
Confirm accounts, licenses, and support
- Use existing school accounts and the approved sign-in route; confirm teacher and student roles.
- For a managed subscription, verify teacher license assignments in the Admin Dashboard before planning class use.
- Identify who supports sign-in, library ownership, media permissions, and student access.
- Check book capacity and available features in the actual account; do not assume a free account has the school’s paid features.
Prepare a library for the class
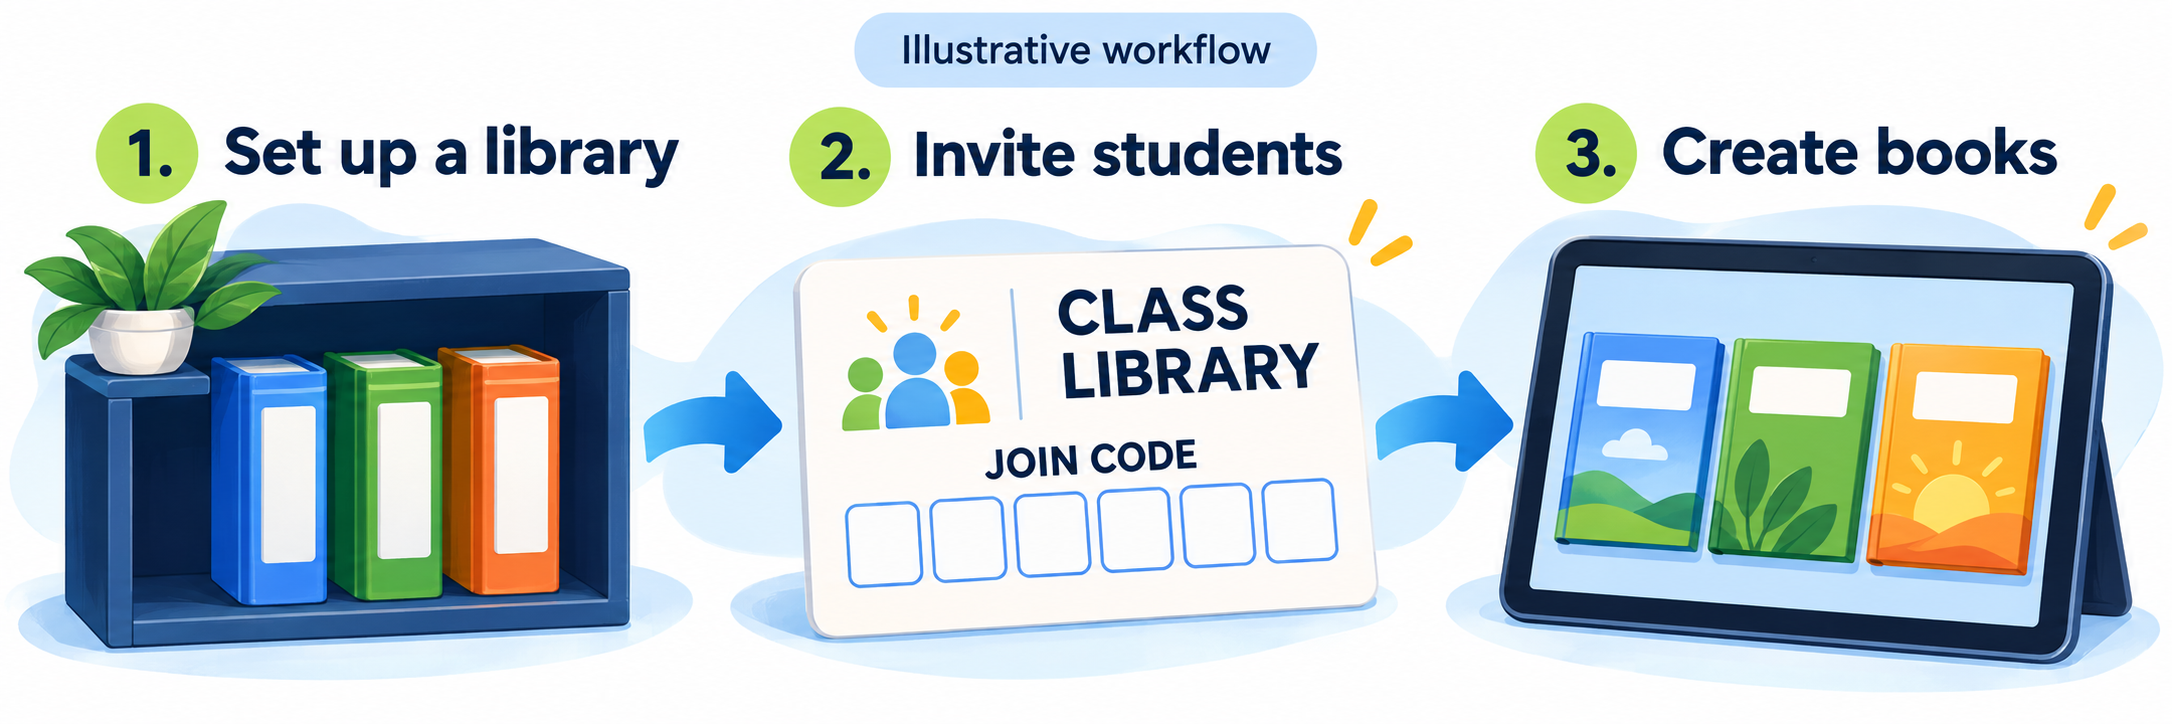
Select or create a teaching library and give it a clear class or project name. My Books is a private workspace; use a class library when students need to join and create.
- Open the intended library and select Add students to library.
- Share its invitation code through the approved classroom channel.
- Students choose the student sign-in route, authenticate, and enter the library code when prompted.
- For learners without supported accounts, use teacher-created student logins only through your school’s approved process.
Check the settings for each library
| Setting | What to decide |
|---|---|
| Editing and book limits | Allow editing for creation tasks and set the number of books students may create. |
| Peer reading and comments | Decide whether students should read one another’s books and whether comments serve the lesson. |
| Publishing and collaboration | Enable these only for the intended workflow. Collaboration requires the appropriate plan. |
| Images, apps, and accessibility tools | Review image search, embedded content, speech tools, and available apps under school controls. |
Use the library’s Settings cog or its dashboard menu. Settings apply to individual libraries, and organization controls can limit the choices teachers can enable.
Teacher Workflow
Model one short book, let students create, and use feedback to improve the explanation.
Plan a book that demonstrates learning
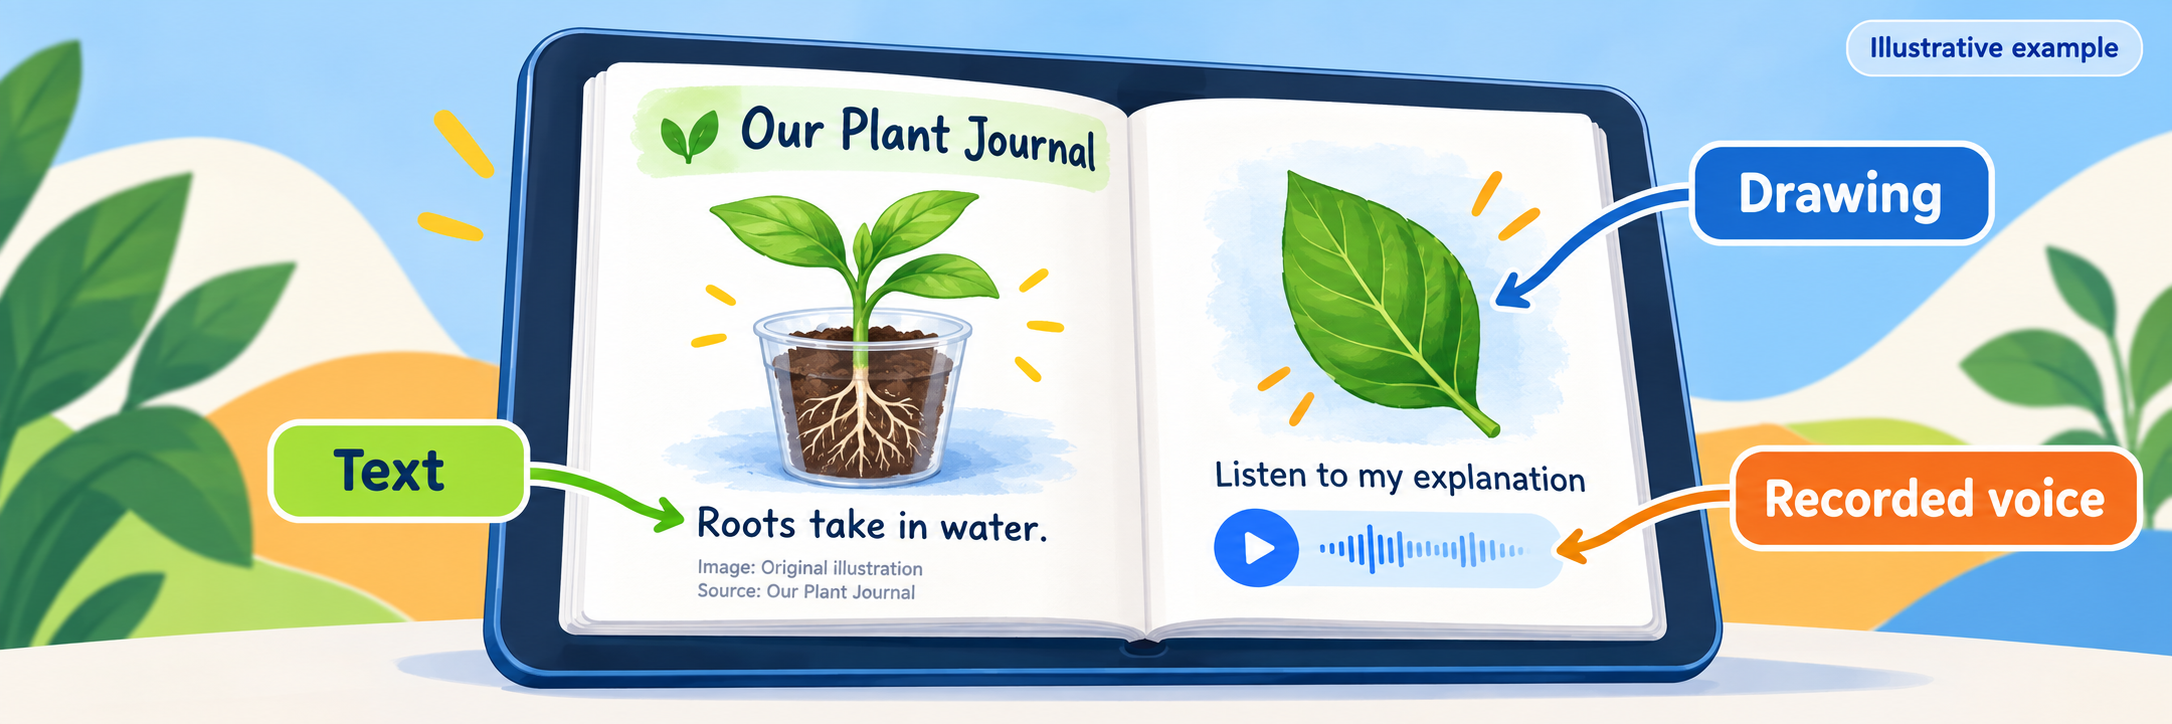
Example: Our Plant Journal. Ask students to describe an observation and explain what one plant part does. Use a simple success check: an accurate statement, an informative drawing, and a clear explanation.
| Page | Student task |
|---|---|
| Cover | Add the book title and the author name or identifier permitted by the school. |
| Observation | Draw or add a permitted image of a seedling. Write what you notice. |
| Explanation | Explain how a plant part helps the plant. Add an optional voice recording and a text equivalent; credit outside sources. |
For other subjects, use a worked mathematics example, a historical source analysis, or a short bilingual explanation. Keep the evidence of learning central.
Create a model and choose how students begin
- In the class library, choose New Book and select a shape or template. Book shape cannot be changed later.
- Use + to add text and media. Select an element and use Inspector (i) to adjust its appearance.
- For spoken explanation, choose + → Record, record briefly, then replay it.
- Give the book a meaningful title and preview it in Read mode.
Official guide: create your first book
Students may create a blank book. For individual template copies, place your model in their library and choose Share → Assign; select everyone or specific students. Each student receives an editable copy when they visit the library. Assign creates separate copies; shared-book collaboration is a different workflow.
Official guide: assign a template book
Make the content readable and listenable
- Use clear headings, readable text, sufficient contrast, and a sensible page order.
- Describe meaningful images: select the image, open Inspector (i), and review its image description. Check generated descriptions for accuracy.
- Provide text equivalents for essential recorded explanations and captions for essential video content.
- In Read mode, try Read to me and review the voice, language, and playback settings. Check that the text and media make sense together.
Give feedback and ask for a revision
Open the student’s book in Edit mode and use Comments to give focused feedback when enabled. For example: “Your drawing shows roots clearly. Explain how water helps the plant.” Have the student revise, then check the change together.
Give the due date and completion directions in your classroom instructions or LMS. A book can remain in the library for teacher review; students do not need to publish it online to complete the task.
Configure and Verify
Confirm access, review the audience, and preserve the formats students need.
Test the complete classroom route
- Use an approved demonstration student account to join the intended library.
- Create a book or receive an assigned copy; add text and test any required media.
- Leave the book, reopen it, and verify the work is present.
- Confirm the teacher can locate the book and leave feedback; check that the student can find it.
- Test the same steps on a classroom device and network.
Choose the audience before publishing
Review author names, page content, recordings, source credit, and permissions before sharing beyond the library. Library membership, peer-reading permissions, and a published read-only link serve different purposes.
To publish an individual book, use Share → Publish, review its title, author, and description, then choose its discoverability and remix options. A private/unlisted link is not an individual recipient check: someone can forward it. Public publication allows search-engine discovery.
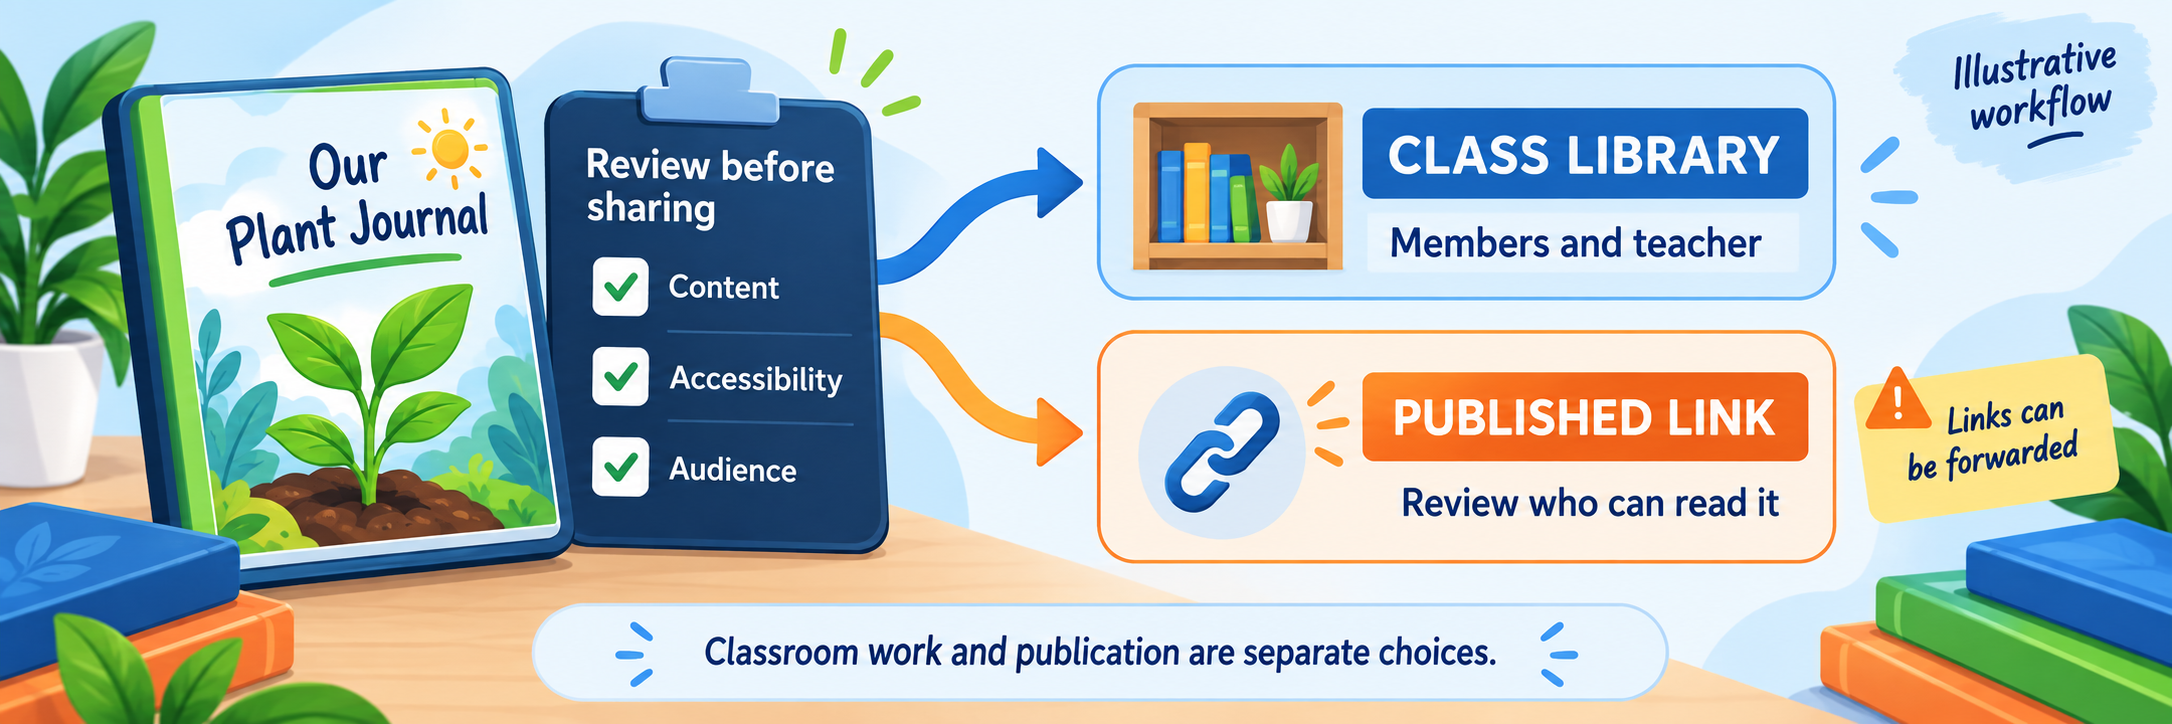
Edits to a published book update its online version automatically. To withdraw access through that published link, use the book’s globe/publishing controls to unpublish. Previously downloaded copies cannot be recalled.
Choose an export that preserves the learning
For a paper or text-and-image copy, use the book’s Share → Print route to create a PDF. Audio and video do not play in a PDF. When those elements carry essential meaning, provide a text equivalent or choose an approved multimedia reading route and test it on the receiving device.
Before year-end changes or a staff departure, name the owner responsible for retaining required work and reviewing published links. Archiving a library is not the same as unpublishing its books.
Resolve common first-use problems
| What you notice | Check first |
|---|---|
| No library invitation code | Confirm you own the library or are a co-teacher. A private My Books workspace does not offer student joining. |
| A student cannot join | Check student sign-in, the exact invitation code, and the intended account and library. |
| New Book or editing is unavailable | Check library editing permissions, book limits, and account capacity. |
| An assigned book is missing | Have the student open the correct library; verify they are included in the assignment. |
| Template edits did not reach existing copies | Later changes to the original do not update copies already received. Plan revisions or copy the needed pages deliberately. |
| Audio does not record or play | Check browser microphone permission, the selected input device, volume, and school filtering; test with a short recording. |
| A comment or app is unavailable | Check library permissions and organization controls before changing the classroom workflow. |
| A book seems lost | Check the original sign-in account, library, and book title before creating a duplicate. |
Good Book-Creation Habits
Explain an idea
Choose media because it communicates something the reader needs.
Credit sources
Use original or permitted material and keep source information with the book.
Revise with purpose
Improve the explanation after feedback; decoration alone is not revision.
Check the audience
Review names, permissions, and access before sharing outside the class.
Official Book Creator Resources
Use the current help articles alongside your school’s sign-in, accessibility, and sharing expectations.
2026–27 edition. Official documentation reviewed September 11, 2026. Menu labels and available features may change. Classroom examples and illustrations are provided by SDLA.